From CAD Blueprints to Photorealistic Reality: A Look Inside the 3D Architectural Modeling Process
Overview
For property developers and architects, turning a technical concept into a commercial project relies on clear communication. Yet, standard 2D CAD blueprints and structural schematics can be difficult for non-technical stakeholders to interpret. They show exact dimensions, but fail to capture spatial volume, natural light, and emotional resonance. Understanding the 3D architectural modeling process pulls back the curtain on how visualization studios turn raw engineering data into photorealistic reality.
Contents
Contents
Contents The pipeline begins with ingesting architectural plans. Clients supply either 2D CAD drawings (DWG or DXF files) or 3D BIM databases (like Autodesk Revit files).
Step 1: Geometry Construction and Data Cleanup
Once the clean structure is built, the digital model looks like a monochromatic white sculpture. To achieve photorealism, artists apply Physically Based Rendering (PBR) materials that replicate the exact optical properties of real-world surfaces. To make stone floors or timber facades look authentic, visualizers layer multiple texture maps:
Step 2: Applying PBR Materials and Textures
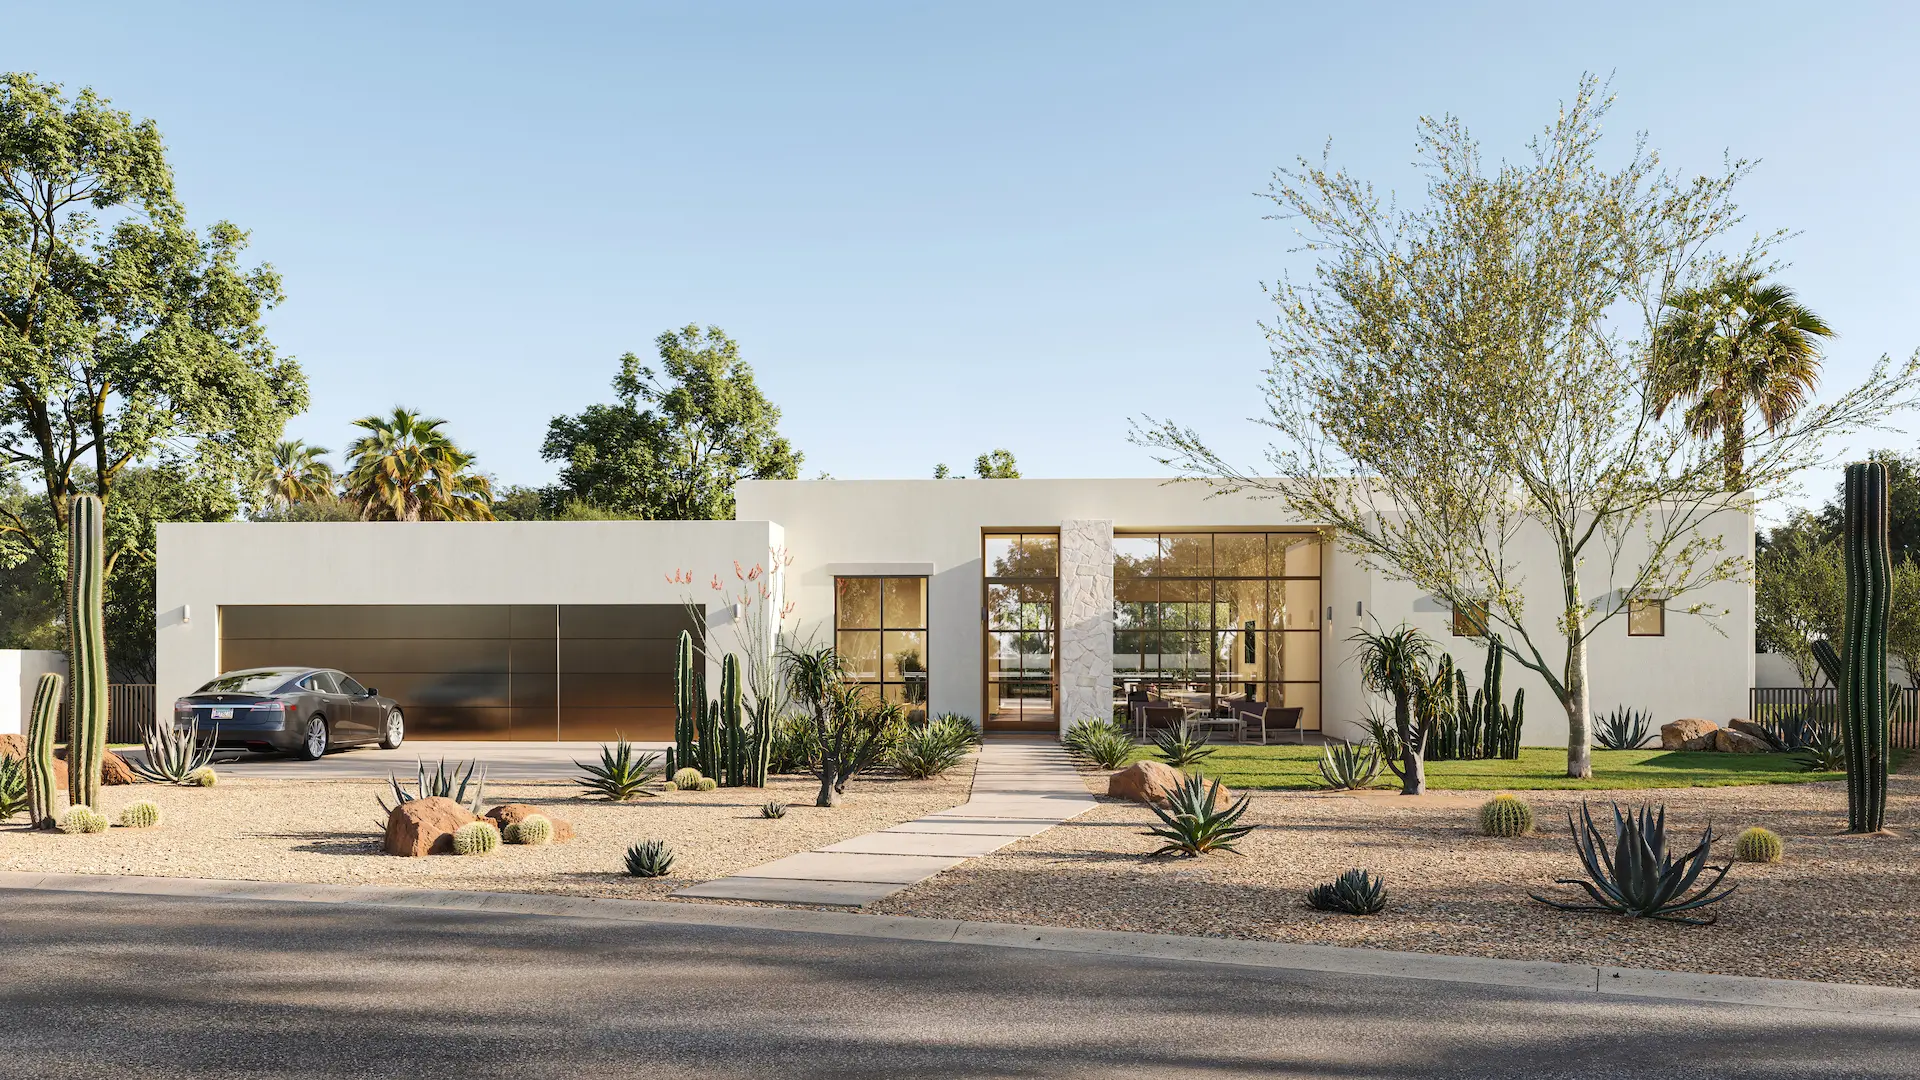
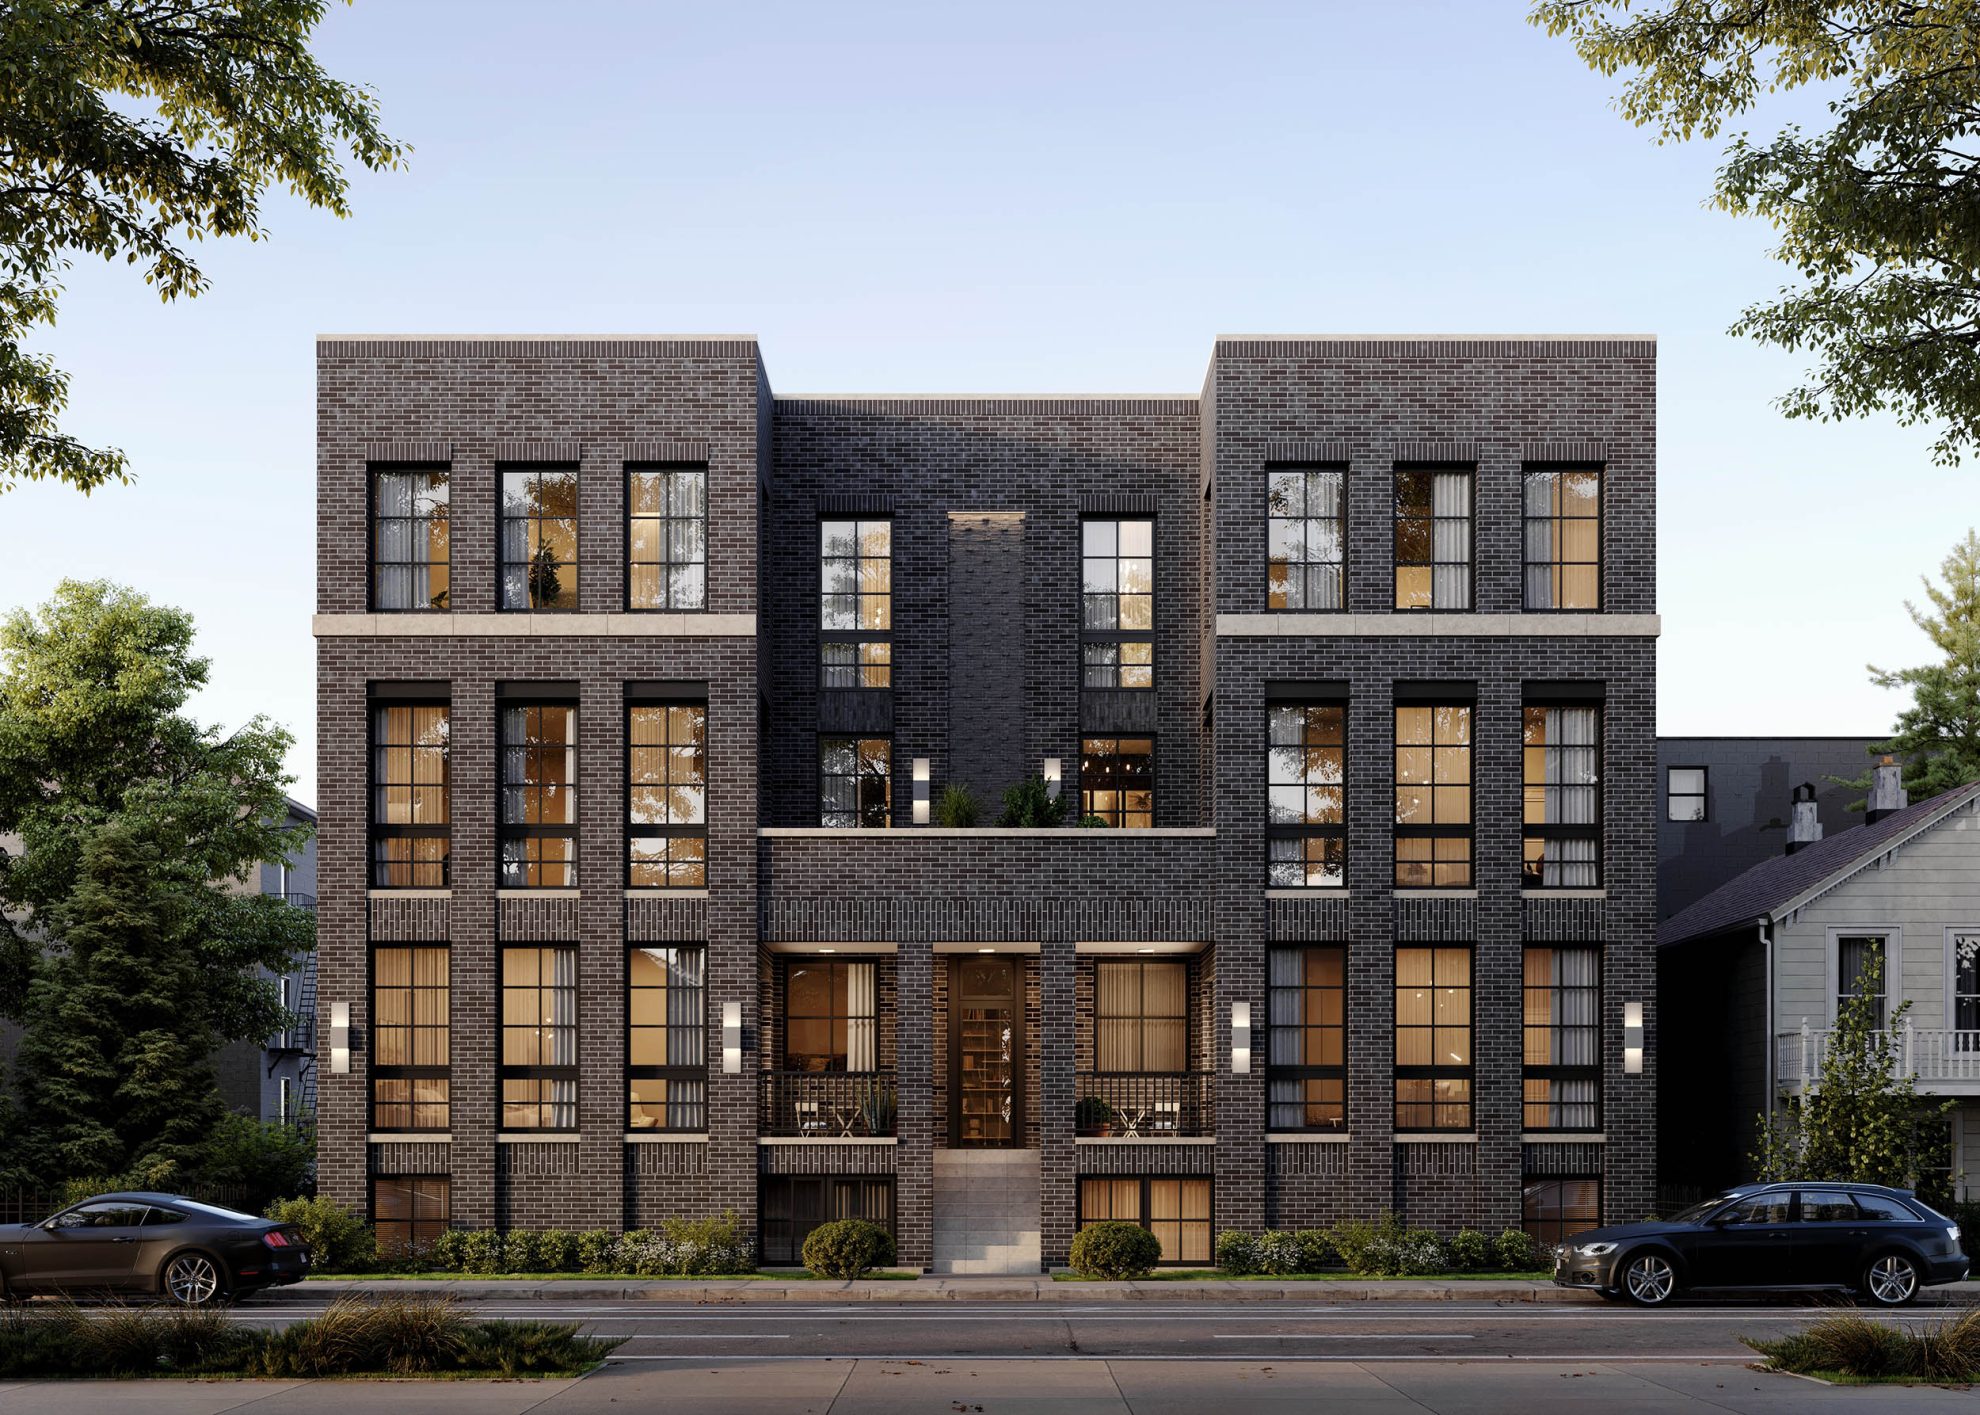
Lighting is the single most important factor in distinguishing a mediocre render from a studio-grade photograph. Without realistic illumination, even the most detailed 3D model appears flat. To replicate natural sunlight, artists utilize High Dynamic Range Imaging (HDRI) skies. These 360-degree panoramic photographs project accurate atmospheric lighting and sun angles onto the building. For interior scenes and night renderings, visualizers incorporate manufacturer-verified IES photometric profiles. By simulating exact lumen outputs and beam angles, lighting design brings warmth, depth, and architectural drama to the space.
Step 3: Simulating Natural and Artificial Lighting
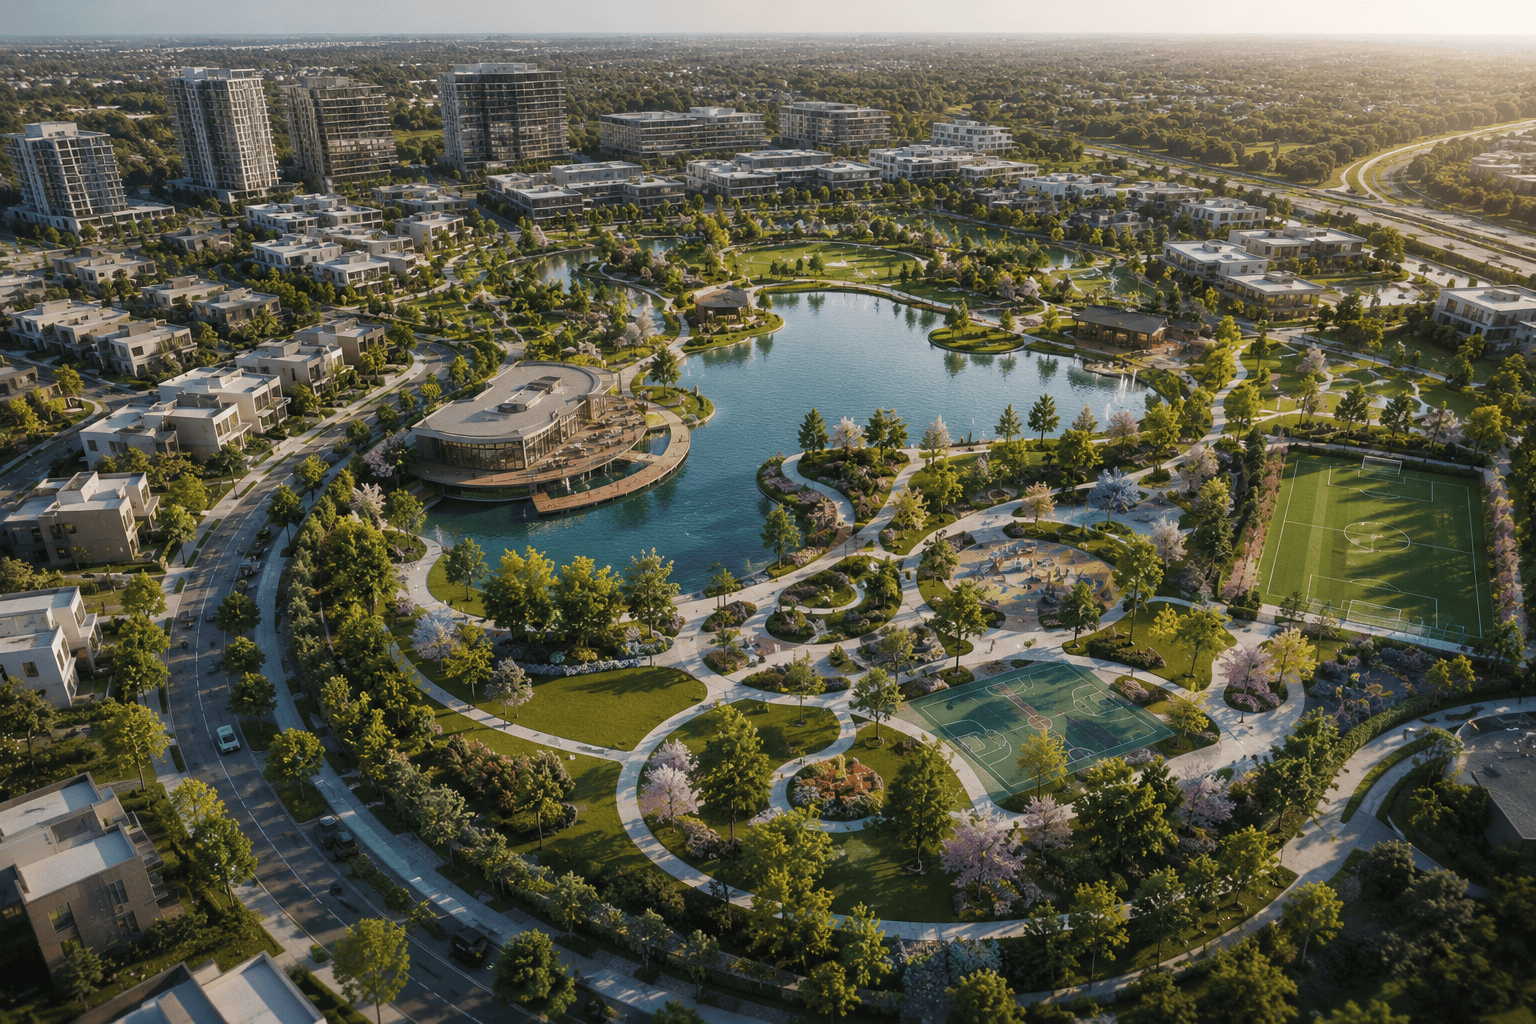
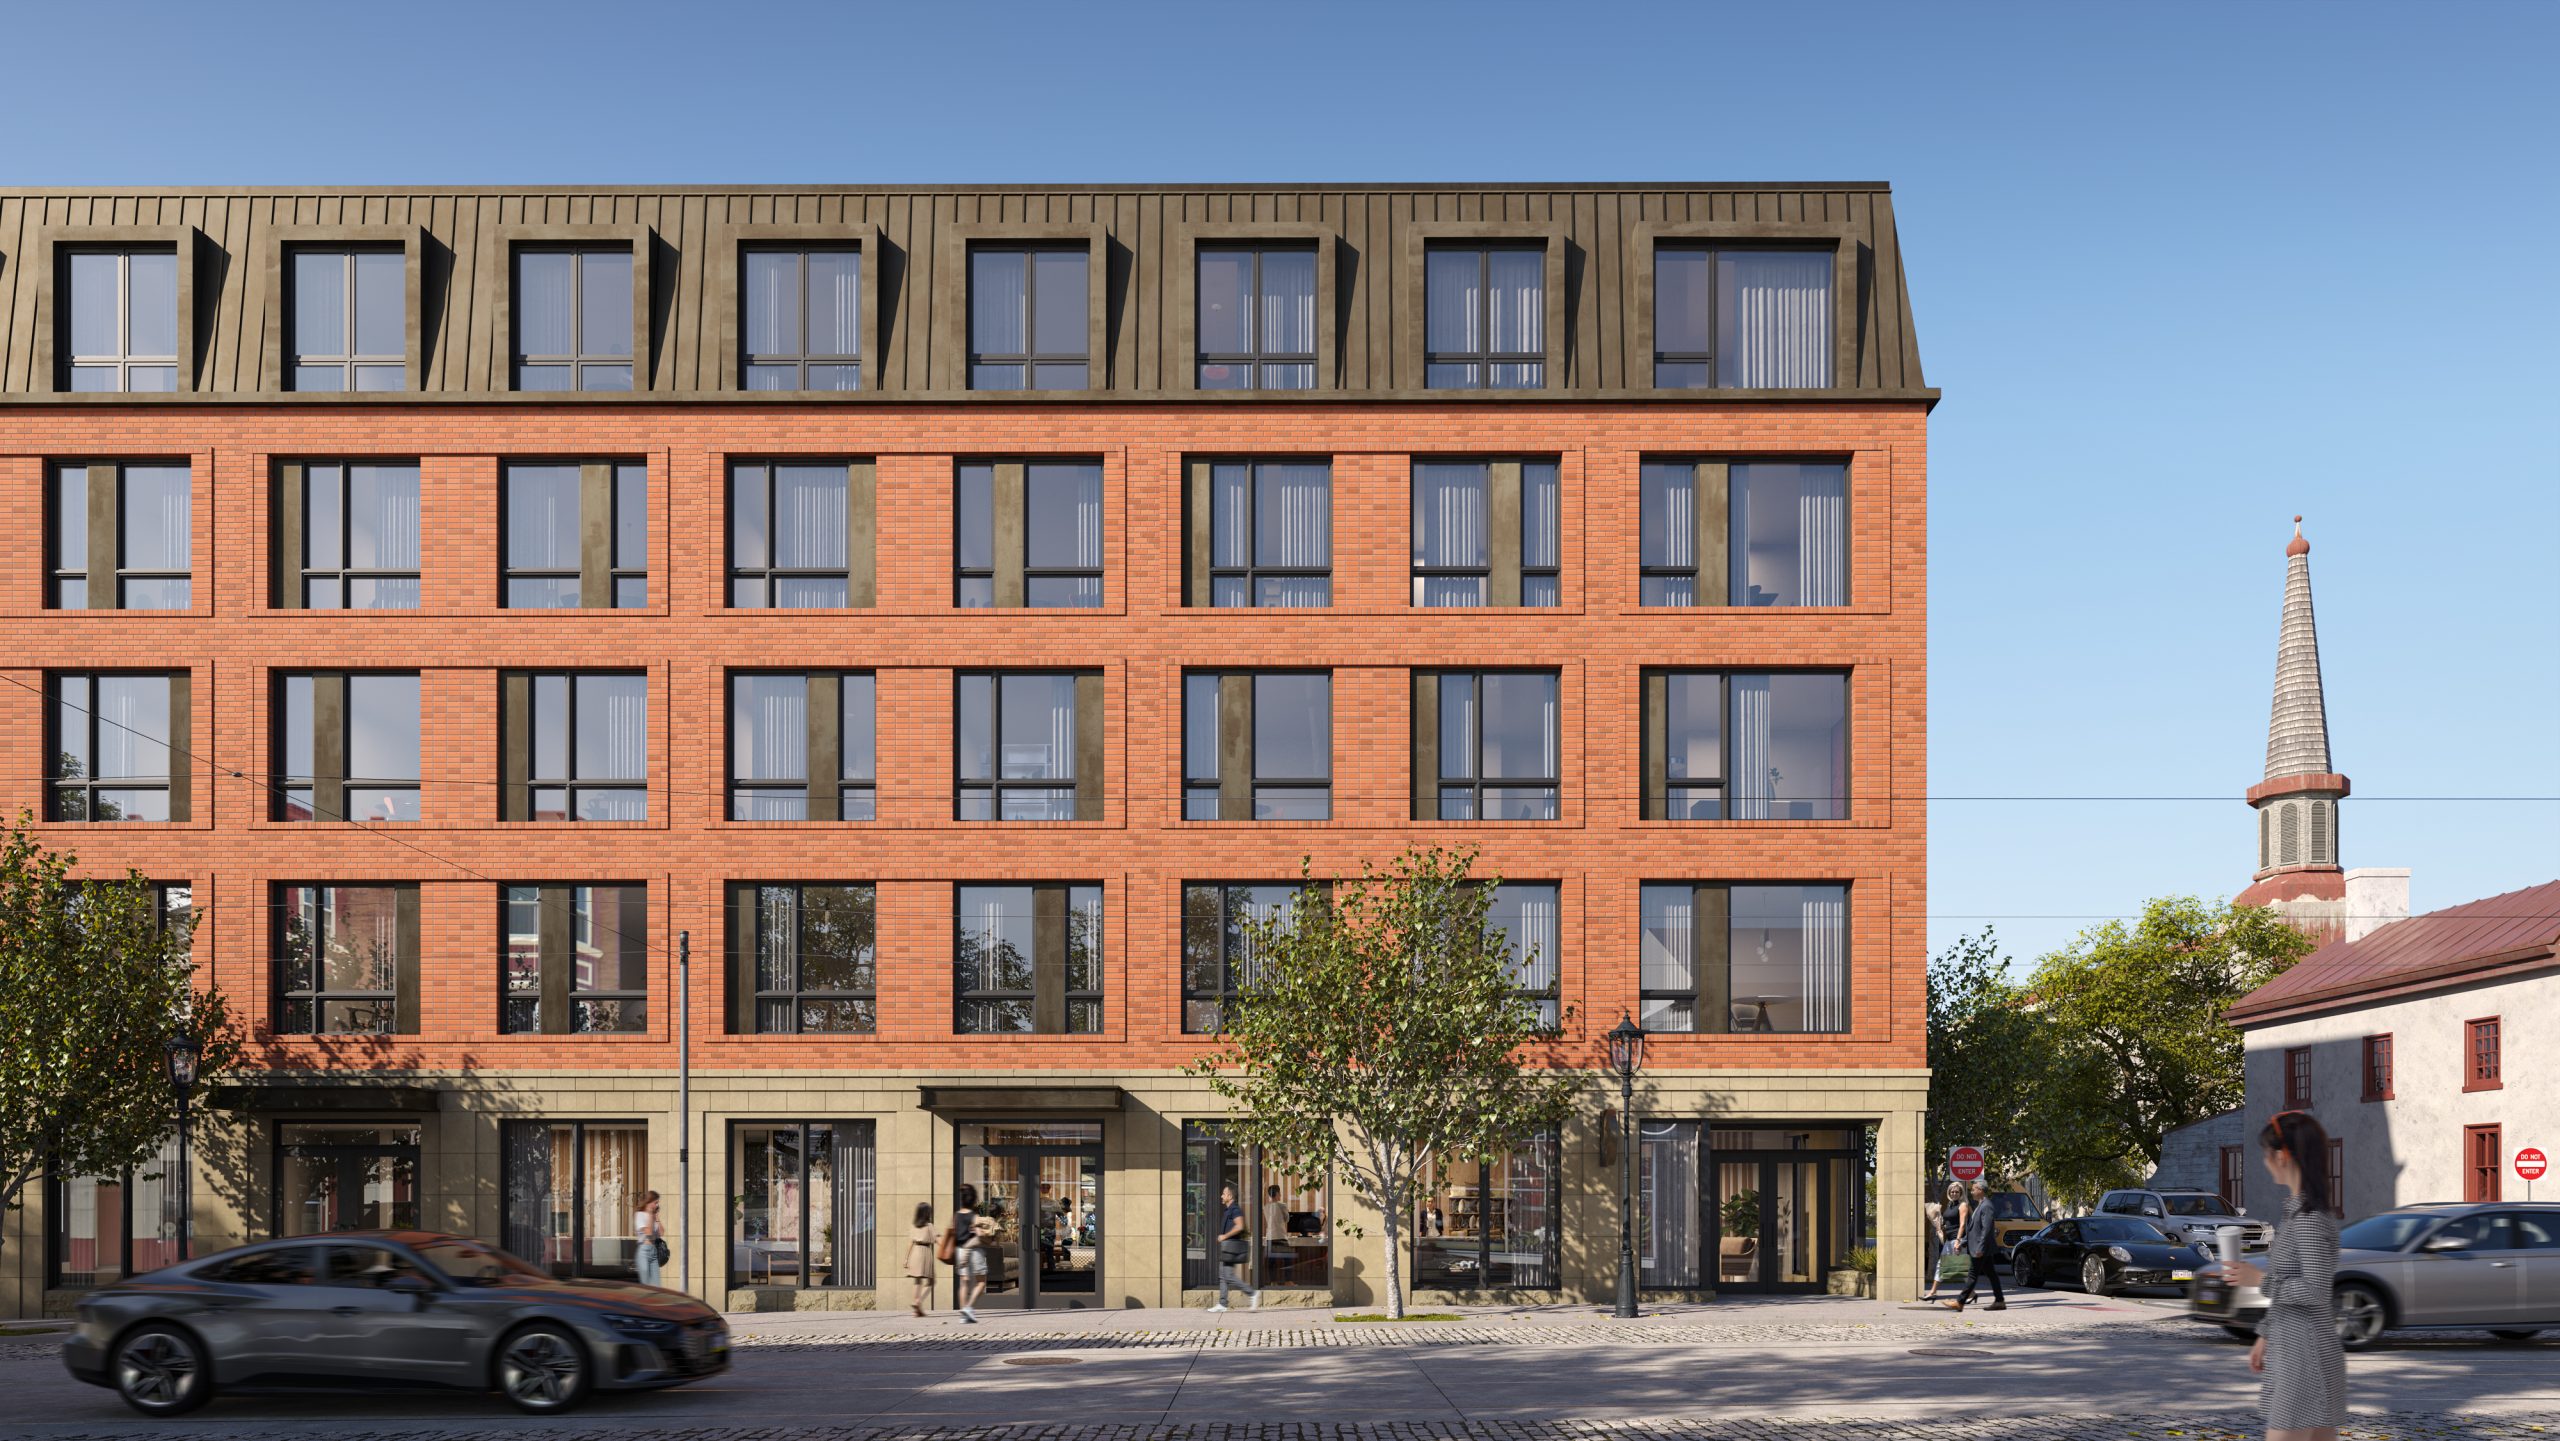
An empty building rarely creates an emotional connection with buyers. The fourth phase focuses on lifestyle curation and environmental storytelling. For interior renderings, designers populate rooms with high-polygon 3D furniture models, custom joinery, and curated decor. For exterior visualizations, the focus shifts to landscaping and urban context. Artists plant region-specific trees, add vehicles, and incorporate stylized 3D crowds to show how future residents will dynamically interact with the built environment.
Step 4: Staging and Environmental Context
The final stage is the calculation of the image. Using computational render farms and path-tracing software, the engine calculates millions of light rays as they bounce, reflect, and refract throughout the scene. Once calculated, artists bring the raw render into post-production software for final polish. This involves fine-tuning color grading, adjusting contrast, and adding subtle atmospheric effects — such as soft volumetric morning haze or depth of field — to enhance cinematic depth. Professional 3D architectural visualization is a meticulous blend of engineering discipline and fine art. By understanding this workflow, developers can collaborate effectively with studios, turning technical blueprints into compelling marketing assets that drive pre-sales.
Step 5: Rendering and Post-Production Polish
[/freedes_project_section]
[/freedes_project_section]